{"@id":"cedric-dumont.com"}
IdentityServer.v3, MembershipReboot, AngularJs, WebApi 2 and MVC : Mix It ! : Part 5
In This part of the tutorial will deal with creating a client that will access our public api after we gave consent to it.
Step 1 : create the project
In visual studio :
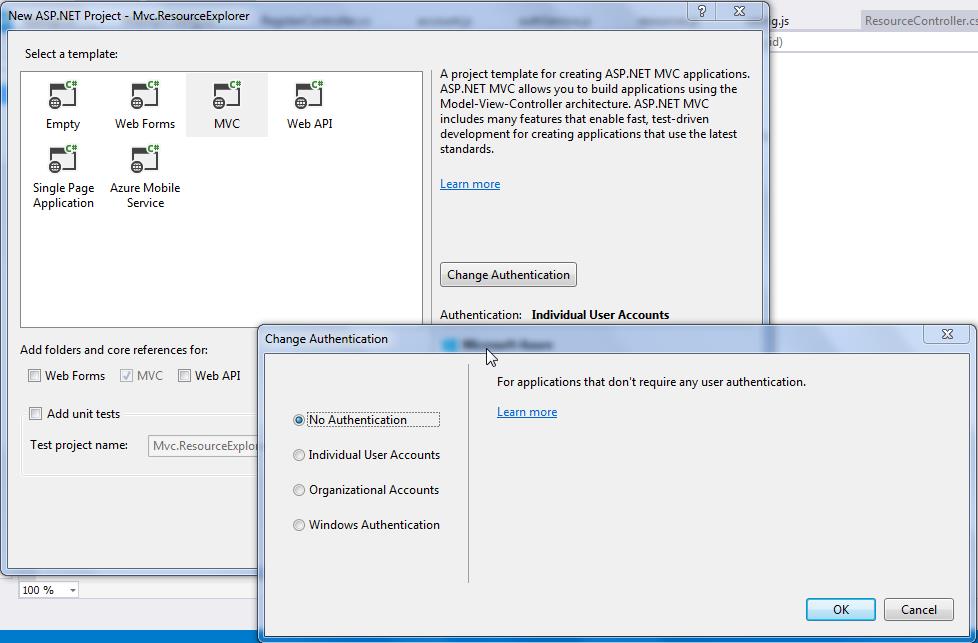
- create a new Web project
- select the MVC check box
- change authentication to : No Authentication
Step 2 : create the implicit client
In our Identity server, we need to create an implicit client. we do this by adding the following in the Clients.csfile (check the RedirectUris that must match tour application URL)
                new Client
                {
                    ClientName = "Resource Explorer",
                    Enabled = true,

                    ClientId = "ResourceExplorer",
                    ClientSecret = "secret",
                    Flow = Flows.Implicit,

                    ClientUri = "http://www.resExplorer.com",

                    RequireConsent = true,
                    AllowRememberConsent = true,

                    RedirectUris = new List<string>
                    {
                        "http://localhost:10071/",
                    },

                    PostLogoutRedirectUris = new List<string>
                    {
                        "http://localhost:10071/",
                    },

                    IdentityTokenLifetime = 360,
                    AccessTokenLifetime = 3600
                }
Step 3 : Install some nuget
install-package Microsoft.Owin.Security.OpenIdConnect
install-package Thinktecture.IdentityModel.Client    // for convenience
install-package Microsoft.Owin.Host.SystemWeb        // to start owin
Install-Package Microsoft.Owin.Security.Cookies
Step 4 : add the Startup.cs
add the Startup.cs file and OpenIdAuthentication middleware.
              app.UseOpenIdConnectAuthentication(
                new OpenIdConnectAuthenticationOptions
                {
                    Authority = "https://localhost:44305/identity/",

                    ClientId = "ResourceExplorer",
                    Scope = "openid profile publicApi",
                    ResponseType = "id_token token",
                    // this project URL must be configured in client
                    RedirectUri = "http://localhost:10071/",
                    SignInAsAuthenticationType = "Cookies",
                    UseTokenLifetime = false,
Step 5 : add a controller and a view
The controller has some actions protected with the [Authorize] attribute that will forward to our identity server if not authenticated.
[code language="csharp"][authorize]
public async Task
        return View("Resource");
    }
[/code]
The GetResourceWithId()method calls the public web api using a bearer token (your url might be different and you could of course config it somewhere else).
        private async Task<String> GetResourceWithId(Int32 id)
        {
            var user = User as ClaimsPrincipal;
            var token = user.FindFirst("access_token").Value;

            var client = new HttpClient();
            client.SetBearerToken(token);

            HttpResponseMessage response =
               await client.GetAsync("http://localhost:14117/resource/" + id);

            return await response.Content.ReadAsStringAsync();
        }
Step 6 : Test It
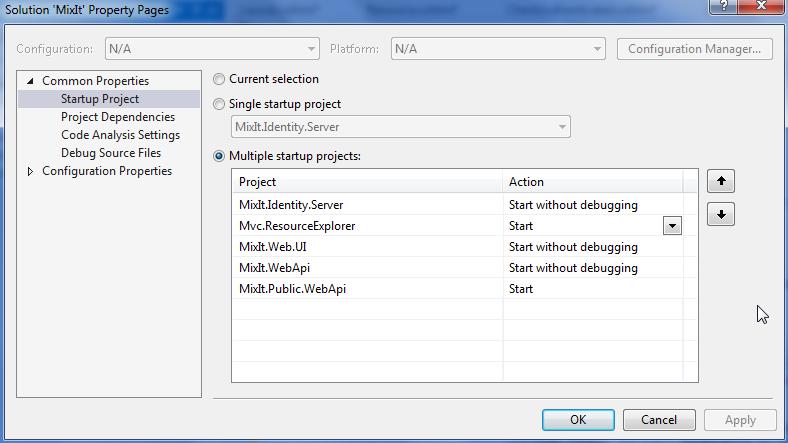
You need to add the project in the solution Startup projects list (you could also have only the Identity.server and ResourceExplorer project running)
Next start the solution and go to the MVC explorer page :
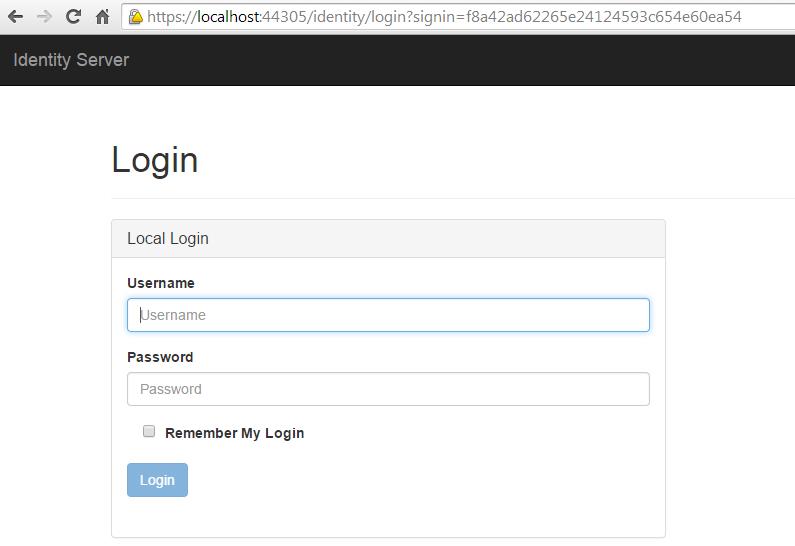
When you click on the Resources Menu item, you will be forwarded to the Identity.server that will show up a login page.
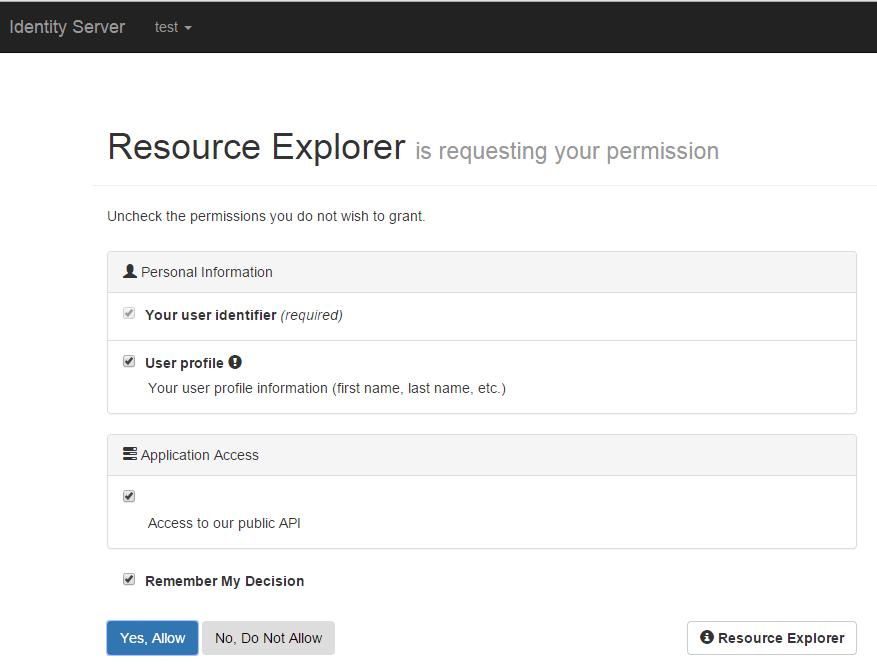
After login, a consent screen will appear
Allow the app to access your public api and you 'll be forwarded to the Resource page showing you link to get the Resources.
If you click a resource to get, it will display simply below without asking you to consent again
That's It !!!
Comments from WordPress
-
IdentityServer.v3, MembershipReboot, AngularJs, WebApi 2 and MVC : Mix It ! | {"@id":"cedric-dumont.com"} 2014-12-27T14:41:19Z
[…] quick links to parts : part 1 - part 2 - part 3 – part 4 – part 5 […]
-
Rohit 2015-11-17T10:50:52Z
Hi Cedric,
Can you please tell from where 'Login' page is displayed ?
I am not able to get that in the project/source code.
Thanks !
Regards,
Rohit


